




How do I test a Rust Remover on a small area?
 Dec 24, 2025|
 When it comes to rust removal, testing a rust remover on a small area is a crucial step before applying it more extensively. As a rust remover supplier, I understand the importance of ensuring that our products deliver the best results while being safe for various surfaces. In this blog, I'll share a comprehensive guide on how to test a rust remover on a small area effectively.
Why Test on a Small Area?
Before diving into the testing process, it's essential to understand why testing on a small area is so important. Rust removers can vary significantly in their chemical compositions and formulations. What works well on one type of surface might cause damage or discoloration on another. By testing on a small, inconspicuous area first, you can assess the rust remover's effectiveness and compatibility with the surface without risking widespread damage.
Step 1: Choose the Right Small Area
The first step in testing a rust remover is selecting an appropriate small area. Look for a spot that is similar to the larger area you plan to treat. It should have some rust on it but also be out of the way so that any potential damage or discoloration won't be noticeable. For example, if you're planning to treat a metal fence, choose a small section at the bottom or back of the fence.
Step 2: Prepare the Area
Once you've chosen the small area, it's time to prepare it for testing. Start by cleaning the area thoroughly with a mild detergent and water. This will remove any dirt, grease, or debris that could interfere with the rust remover's performance. After cleaning, dry the area completely with a clean cloth or towel.
Step 3: Apply the Rust Remover
Now that the area is clean and dry, you can apply the rust remover. Follow the instructions on the product label carefully. Some rust removers may need to be applied with a brush, while others can be sprayed on. Make sure to apply a thin, even layer of the rust remover to the small area. Avoid applying too much, as this can lead to over - saturation and potentially cause damage.
Step 4: Observe the Reaction
After applying the rust remover, it's time to observe the reaction. Most rust removers work by chemically reacting with the rust to dissolve it. You may notice bubbles forming on the surface, which is a sign that the rust remover is working. Watch for any signs of discoloration, corrosion, or damage to the surface. If you see any negative effects, such as the surface starting to pit or change color dramatically, immediately stop the test and rinse the area thoroughly with water.
Step 5: Check for Effectiveness
After the recommended dwell time specified on the product label has passed, it's time to check for effectiveness. Gently wipe away the rust remover with a clean cloth or use a soft brush to scrub the area if necessary. Look at the surface to see if the rust has been removed. If the rust is still present, you may need to let the rust remover sit for a longer period or try reapplying it.
Step 6: Rinse and Dry the Area
Once you're satisfied with the results or if you need to stop the test, rinse the area thoroughly with water. Make sure to remove all traces of the rust remover. Then, dry the area completely with a clean cloth or towel. This will prevent any residual rust remover from causing further damage or leaving stains.
Special Considerations for Different Surfaces
Metal Surfaces
Metal surfaces are the most common targets for rust removers. However, different types of metals can react differently to rust removers. For example, stainless steel may be more resistant to damage, but some rust removers can still cause discoloration. When testing on a metal surface, pay close attention to any changes in the metal's appearance, such as a dulling or pitting effect.
Concrete or Stone Surfaces
Rust can also stain concrete or stone surfaces. Some rust removers are formulated specifically for these types of surfaces. When testing on concrete or stone, make sure the area is well - ventilated. Also, check for any signs of etching or damage to the surface texture.
Painted Surfaces
Testing a rust remover on a painted surface requires extra caution. The chemicals in the rust remover may damage the paint. Look for a rust remover that is safe for painted surfaces and test it in a small, hidden area. Monitor the paint for any signs of peeling, bubbling, or discoloration.
Recommendations for Related Rust - Prone Equipment
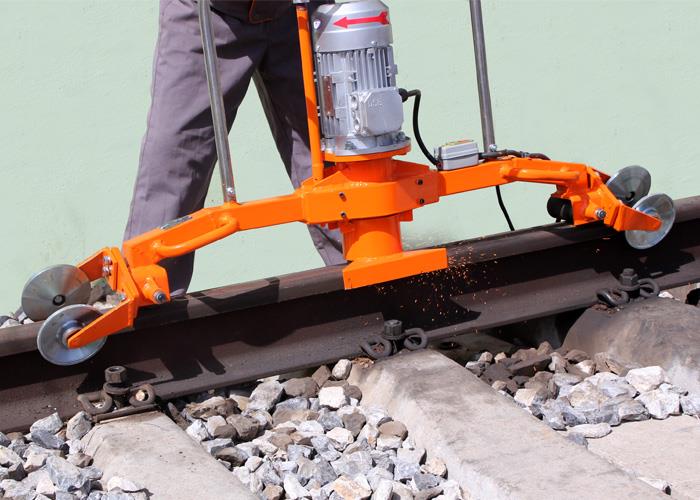
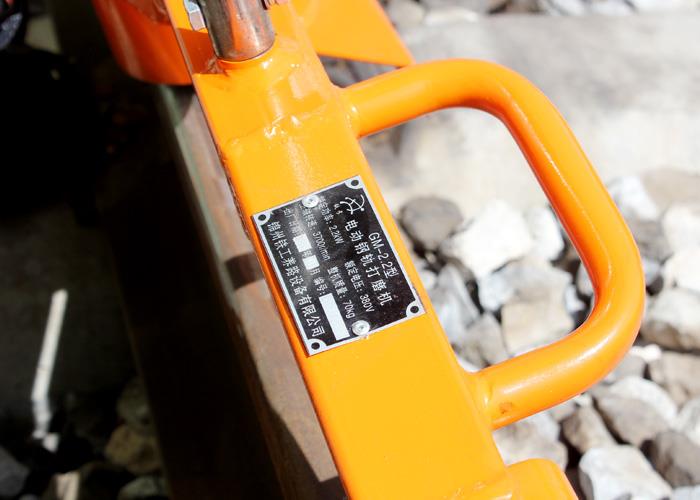
If you're dealing with rust on industrial equipment, such as rail grinding machines, it's important to choose the right rust remover. Rail grinding machines like the NGM - 4.4II Rail Profile Grinding Machine, High Working Efficiency Rail Grinding Machine Fat Edge Grinder, and GM - 2.2 High Speed Electric Rail Grinding Machine are often exposed to harsh conditions that can lead to rust. Before applying a rust remover to these machines, always test it on a small area to ensure compatibility.
Conclusion and Call to Action
Testing a rust remover on a small area is a simple yet important step that can save you a lot of time, money, and headaches in the long run. By following the steps outlined in this guide, you can ensure that our rust remover products are safe and effective for your specific needs.
If you're interested in learning more about our rust remover products or have any questions about rust removal, we're here to help. We encourage you to reach out to us for a detailed discussion. Our team of experts can provide guidance on product selection, testing, and application. Let's start a conversation about how we can help you effectively remove rust and protect your valuable assets.
References
- Various product manuals and technical datasheets related to rust removers.
- Industry standards and best practices for rust removal and surface testing.