




How to install a Track Cutter?
 Nov 25, 2025|
 Installing a track cutter is a task that requires careful planning, the right tools, and a good understanding of the equipment. As a track cutter supplier, I've had the opportunity to assist many customers through the installation process. In this blog, I'll share a step - by - step guide on how to install a track cutter, highlighting important considerations along the way.
Step 1: Pre - installation Preparation
Before you start the actual installation, it's crucial to make thorough preparations. First, you need to choose an appropriate location for the track cutter. The area should be flat, stable, and well - ventilated. A flat surface ensures that the track cutter operates smoothly and reduces the risk of vibrations that could affect its performance. Good ventilation is essential, especially for track cutters that generate a significant amount of heat or fumes during operation.
Next, gather all the necessary tools. Common tools required for track cutter installation include wrenches, screwdrivers, pliers, and a level. Make sure these tools are in good condition and of the appropriate size for the installation task. You should also review the installation manual provided with the track cutter. This manual contains detailed instructions specific to your model, and following it carefully will help you avoid mistakes.
Step 2: Unpacking and Inspection
Once you've prepared the installation site and gathered the tools, it's time to unpack the track cutter. Carefully remove the track cutter from its packaging, checking for any visible damage during the transit. Look for dents, scratches, or loose parts. If you find any damage, contact your supplier immediately. Most suppliers, like us, offer support and replacement parts in case of shipping - related damages.
Inspect all the components of the track cutter. Ensure that all the necessary parts are included, such as the cutting blade, motor, control panel, and mounting brackets. Compare the components with the list in the installation manual to make sure nothing is missing.
Step 3: Mounting the Track Cutter
The mounting process is a critical step in the installation. First, position the track cutter on the pre - selected location. Use a level to ensure that the track cutter is perfectly horizontal. This is important for accurate cutting and to prevent premature wear of the cutting blade.
If your track cutter comes with mounting brackets, attach them securely to the base of the track cutter. Then, align the mounting holes on the brackets with the holes on the installation surface. Insert the bolts through the holes and tighten them using the appropriate wrenches. Make sure the bolts are tightened evenly to avoid any uneven stress on the track cutter.
For some track cutters, you may need to use additional supports or braces to ensure stability. Follow the instructions in the manual to determine if this is necessary and how to install them correctly.
Step 4: Electrical or Fuel Connections
Depending on the type of track cutter you have, you'll need to make either electrical or fuel connections. For electric track cutters, start by checking the voltage requirements of the machine. Make sure the power supply in your installation area matches these requirements.
Connect the power cord of the track cutter to a suitable electrical outlet. It's recommended to use a grounded outlet to ensure safety. If the track cutter has a control panel, follow the wiring diagram in the manual to connect the electrical components correctly. This may involve connecting wires to switches, motors, and sensors.
For track cutters that run on fuel, such as internal combustion engines, you'll need to fill the fuel tank with the appropriate type of fuel. Check the manual for the recommended fuel type and capacity. Also, connect the fuel lines to the engine according to the instructions. Make sure all connections are tight to prevent fuel leaks.
Step 5: Blade Installation
The cutting blade is a key component of the track cutter. Installing it correctly is essential for efficient and safe operation. First, ensure that the power to the track cutter is turned off. Then, locate the blade mounting area. This is usually on the front or side of the track cutter.
Insert the cutting blade into the mounting area, aligning the holes on the blade with the holes on the mounting flange. Place the blade washer over the blade and insert the blade nut. Tighten the nut using the supplied wrench. Make sure the blade is firmly attached but avoid over - tightening, as this can damage the blade or the mounting components.
Step 6: Testing and Calibration
After the installation is complete, it's time to test the track cutter. Before starting the machine, double - check all the connections and make sure all the components are secure. Turn on the power (or start the engine for fuel - powered track cutters) and let the machine run for a few minutes. Listen for any unusual noises or vibrations. If you notice anything abnormal, turn off the machine immediately and check for loose parts or improper installation.
Once the machine is running smoothly, you can perform some calibration tests. This may involve adjusting the cutting depth, speed, or angle settings. Use the controls on the track cutter's control panel to make these adjustments according to the requirements of your cutting tasks. You can also make some test cuts on a scrap piece of material to ensure that the track cutter is cutting accurately.
Additional Tips and Considerations
- Safety First: Always wear appropriate safety gear, such as safety glasses, gloves, and ear protection, when operating the track cutter. The process of cutting generates debris, noise, and can be dangerous if proper safety measures are not taken.
- Maintenance: Regular maintenance is crucial for the longevity of your track cutter. Follow the maintenance schedule in the manual, which may include tasks like blade sharpening, lubrication of moving parts, and cleaning of the machine.
- Training: If you're new to using track cutters, it's advisable to receive some training. Many suppliers, including us, offer training services to help you operate the track cutter safely and efficiently.
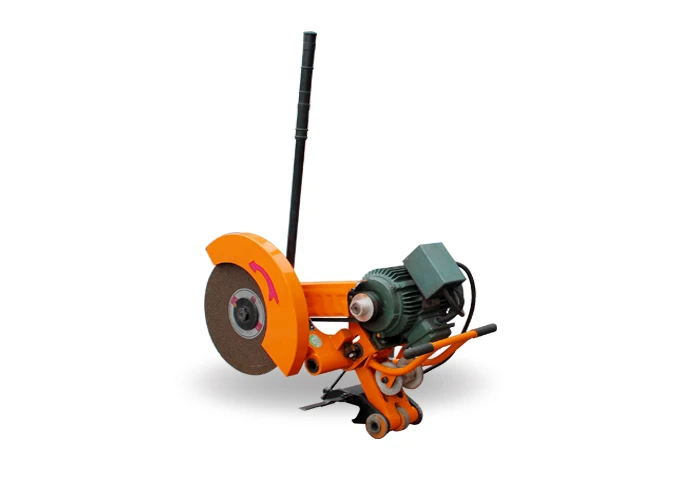
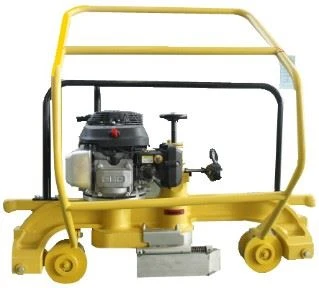
As a track cutter supplier, we offer a range of high - quality track cutters, such as the QG - 3II High Speed Electric Rail Cutting Machine. This machine is known for its high cutting speed and precision. We also have the NZM - 4.9 Rail Vertical Grinding Machine and the Internal Combustion Rail Grinding Machine Rail Grinder, which are great for grinding and finishing rail tracks.
If you're interested in purchasing a track cutter or have any questions about the installation process, we're here to help. Our team of experts can provide you with detailed information, support, and guidance. Contact us for more information and to start a procurement negotiation.
References
- Track Cutter Installation Manuals
- Industry Standards for Track Cutter Installation and Operation